 how-to
Does Vinegar Damage Tile Grout? What to Know
Table of Contents
- The Short Answer: Vinegar and Grout Don't Always Mix
- How to Clean Unsealed Grout Without Making It Worse
- Does Vinegar Remove Grout Haze? What It Can and Can't Do
- The Best Natural Cleaner for Shower Grout (and What to Skip)
- How to Clean Stained Grout: A Step-by-Step Walkthrough
- Mold Prevention vs. Mold Removal: Two Different Jobs
- Maintenance and Resealing: Keeping Vinegar Damage From Coming Back
- Conclusion
- Frequently Asked Questions
Last Updated: October 14, 2026
The Short Answer: Vinegar and Grout Don't Always Mix
Does vinegar damage tile grout? Yes, if the grout is cement-based and unsealed.
That's the part most cleaning guides skip. They praise vinegar as a natural, cheap cleaner and stop there.
Here's what happens with repeated vinegar exposure:
- The grout surface turns chalky and starts to crumble
- Small pits form, giving dirt and moisture more places to hide
- The grout joint widens and cracks
- Stains set deeper because the surface is now rougher
At Certified SteemPro, we've cleaned tile and grout across Riverside County for over 20 years.
The Tile Council of North America's care guidance backs this up: cement-based grout is alkaline, and acidic cleaners break it down.
How to Tell If Vinegar Has Already Damaged Your Grout
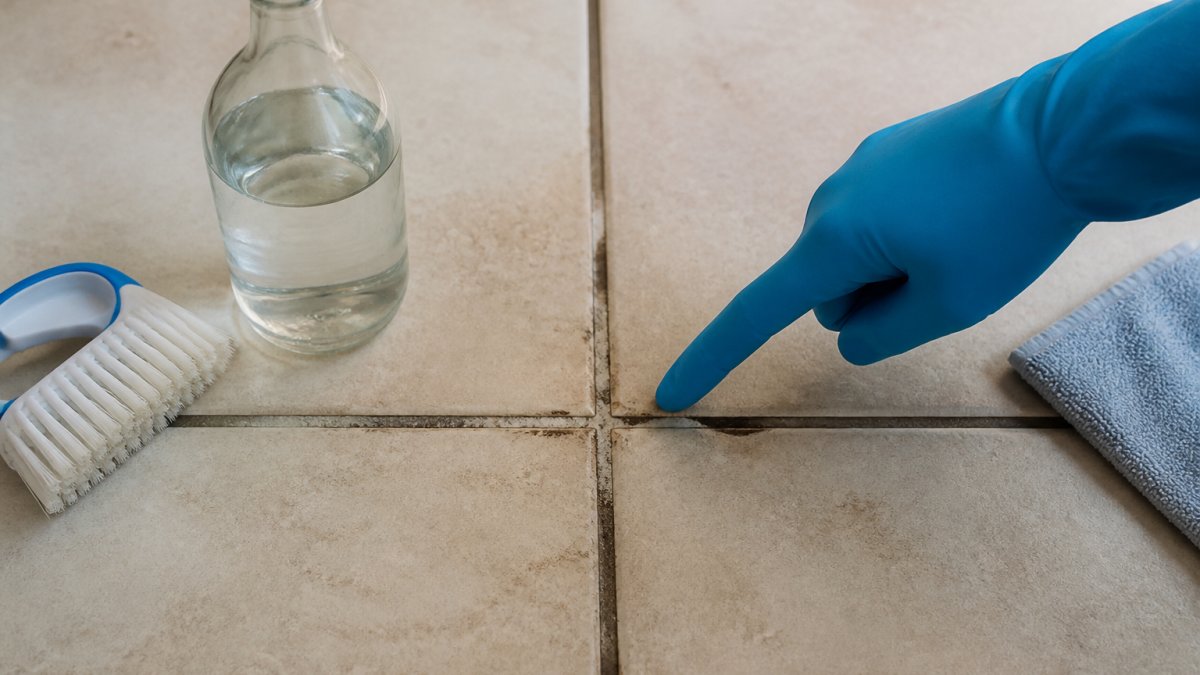
Run your finger along the grout line. If white powder comes off, the surface is already breaking down. Other warning signs:
- Grout looks lighter or chalky in the spots you clean most
- Small holes or pits appear along the joint
- Cracks run through the grout lines
- Sand-like grit shows up in the shower drain
Catch it early and the damage is mostly cosmetic. Let it go and the grout needs regrouting, not just cleaning.
How to Clean Unsealed Grout Without Making It Worse
Cleaning unsealed grout comes down to one rule: use a neutral pH cleaner, not an acid. Unsealed grout is open and porous. Whatever you put on it soaks straight in.
Here's a safe routine:
- Vacuum or dry-brush loose debris first
- Mix a few drops of mild dish soap with warm water
- Scrub with a soft-bristle brush in small circles
- Wipe up dirty water with a clean cloth
- Let the grout dry completely before anyone walks on it
Skip bleach on colored grout. It strips the pigment. Skip stiff wire brushes too, since they scratch the tile and grind down the grout.
Testing Grout Before You Seal or Scrub
Before you seal, clean, or scrub anything, test one small spot. Here's how:
- Drip a few drops of water on the grout line
- Wait 10 minutes and check if the water soaks in
- Soaks in fast? The grout is unsealed and porous
- Water beads on top? A sealer is still working
- Scrub a hidden corner with your chosen cleaner first
That ten-minute test tells you more than any label on a bottle.
Does Vinegar Remove Grout Haze? What It Can and Can't Do
Vinegar can remove light grout haze, but only on fresh, thin films. Grout haze is the cloudy residue left on tile after grouting.
It cannot fix these:
- Thick, cured haze that's been sitting for weeks
- Haze on natural stone like marble or travertine, which acid etches permanently
- Efflorescence, the white mineral deposits that push up from below the tile
For cured haze, a commercial haze remover made for the tile type works better. For efflorescence, you need a different approach entirely, since the minerals come from moisture under the tile, not the surface.
If you're unsure what you're looking at, a professional grout cleaning service can tell the difference in minutes.
The Best Natural Cleaner for Shower Grout (and What to Skip)
The best natural cleaner for shower grout is a mix of baking soda and water formed into a paste. It's mildly abrasive, so it lifts grime without acid. Add a drop of mild soap for extra cleaning power.
What to use:
- Baking soda paste for scrubbing
- Diluted dish soap for routine cleaning
- Hydrogen peroxide for light whitening on white grout
- Steam for loosening grime without chemicals
What to skip:
- Vinegar on cement-based grout
- Bleach on colored grout
- Lemon juice, which is also acidic
- Any "heavy-duty" acid cleaner on a regular schedule
A common mistake is treating vinegar as a weekly maintenance product. It's not. Even baking soda paste should be a periodic deep clean, not a daily habit.
How to Clean Stained Grout: A Step-by-Step Walkthrough
Here's the full process we use, simplified for a DIY job.
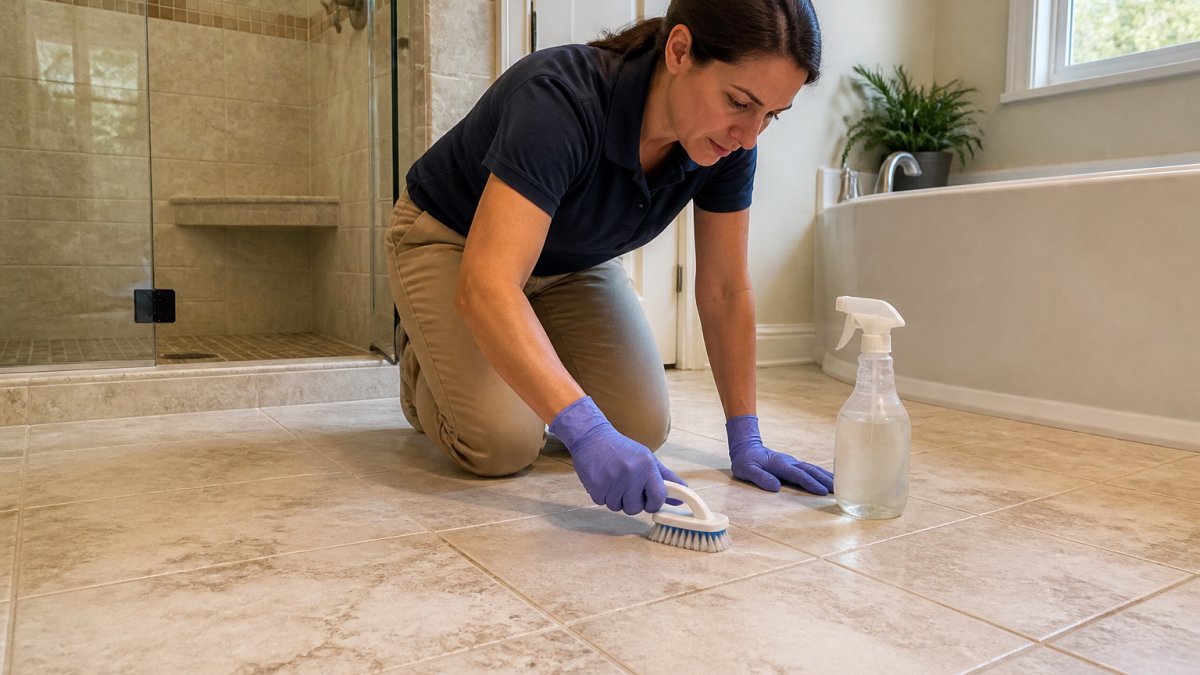
Total time: 60-90 minutes for a standard shower Difficulty: Beginner
What you'll need:
- Soft-bristle grout brush
- Baking soda and water
- Mild dish soap
- Clean microfiber cloths
- Bucket of warm water
- Grout sealer (for after)
Step 1: Prep the area [10 minutes] Remove bath mats and bottles.
Step 3: Scrub the grout lines [20 minutes] Scrub in small circles along each joint.
Step 4: Rinse and wipe [10 minutes] Wipe away residue with a damp cloth.
Step 5: Dry completely [30+ minutes] Let the grout dry fully.
Expected result: Brighter grout lines with no chalky residue.
Sealing and Curing: What Happens After the Grout Dries
Sealing is what keeps your work from undoing itself. A penetrating sealer soaks into the grout and blocks water from getting in. A surface sealer sits on top and forms a film, which can peel over time.
After you apply sealer:
- Let it cure for the full time on the label, often 24 to 72 hours
- Keep the area dry during curing
- Don't scrub or use harsh cleaners for at least a week
- Re-test with the water drop method after curing
Cure time matters more than most people think. Sealing too soon, or getting the grout wet during curing, wastes the whole job.
Mold Prevention vs. Mold Removal: Two Different Jobs
Mold prevention and mold removal are not the same task, and mixing them up wastes time and money. Prevention keeps mold from growing back. Removal kills and clears mold that's already there.
For removal:
- Scrub visible mold with a proper cleaner and let the area dry
- Fix the moisture source, or mold returns within weeks
- Replace moldy caulk, since caulk can't be cleaned once mold roots in
For prevention:
- Run the exhaust fan during and after showers
- Squeegee walls and dry the floor
- Seal grout to cut water absorption
- Fix leaks and slow drains
Here's the honest limit: sealer slows water penetration, but it is not a mold solution. If moisture keeps coming from a leak or poor ventilation, mold returns no matter how well you seal.
Maintenance and Resealing: Keeping Vinegar Damage From Coming Back
Once your grout is clean and sealed, maintenance is mostly about avoiding the acid cleaners that caused the problem in the first place, and knowing when the sealer has worn off. That second part is where most guides stay vague. Here is a schedule and a set of inspection criteria you can actually act on.
Routine Schedule
| Task | Frequency | What to Use |
|---|---|---|
| Wipe down after showers | Daily | Squeegee, dry towel |
| Routine floor clean | Weekly | Mild soap, warm water |
| Deep grout clean | Monthly | Baking soda paste |
| Water-drop sealer test | Every 3-6 months | Plain water |
| Full inspection (see below) | Every 6 months | Eyes and a fingertip |
| Reseal grout | When tests say so, often 1-2 years | Penetrating sealer |
Signs the Sealer Has Worn Off
Do not reseal on a calendar. Reseal on evidence. Look for these:
- Water stops beading. The water-drop test is the single most reliable signal. If a drop soaks in within a few seconds instead of sitting on top, the sealer is gone in that spot.
- Grout darkens when wet and stays dark. Unsealed grout absorbs water and looks visibly darker after a shower. Sealed grout sheds water and dries back to its original color quickly.
- Stains return faster. If you are scrubbing the same coffee, soap scum, or shampoo stains every few weeks, the surface is absorbing again.
- Grout feels gritty or chalky. Run a fingertip along a joint. Powder or grit means the surface is breaking down, either from wear or from past acid exposure, and sealer will not fix a crumbling joint.
- Visible pitting or hairline cracks. Sealer cannot bridge a physical gap. Regrout first, then seal.
Usage-Based Resealing Criteria
How often you reseal depends on how hard the grout is working, not on the brand of sealer.
- Daily-use shower or a busy family bathroom: Inspect every 3 months. Expect to reseal every 12-18 months.
- Guest bathroom or low-traffic floor: Inspect every 6 months. Two years or more between reseals is common.
- Kitchen backsplash or floor: Inspect every 6 months. Grease and foot traffic wear sealer faster than water alone.
- Steam showers or bathrooms with poor ventilation: Inspect every 3 months. Persistent moisture is the fastest way to break down a sealer.
What Sealing Cannot Fix
Sealer slows water penetration. It does not stop water that is already getting in from somewhere else. Before you reseal, rule out these moisture sources, otherwise you are sealing over a problem that will return:
- Failed caulk at the tub or shower base. Caulk cracks and pulls away over time. Replace it, do not seal over it.
- Loose or missing grout. Water runs through gaps and soaks the substrate. Regrout first.
- Leaky fixtures or supply lines. A slow drip behind a wall keeps grout wet no matter how well it is sealed.
- Poor ventilation. A bathroom without a working exhaust fan stays humid for hours after a shower. Sealer cannot outrun that.
- Clogged or slow drains. Standing water at the shower pan keeps the lowest grout lines saturated.
A Simple Inspection Routine
Every 6 months, do this in under 10 minutes:
- Run the water-drop test in three spots, one high on the wall, one at the shower pan, one on the floor.
- Press a dry paper towel against the grout after a shower. If it comes away damp, that area is absorbing.
- Look for cracks, missing grout, and lifting caulk.
- Check the exhaust fan, hold a tissue to the grille. If it does not pull the tissue, the fan is not moving enough air.
If the water-drop test fails in any spot, reseal that area. If the grout is cracked or crumbling, regrout before resealing.
Conclusion
Vinegar is a fine cleaner for glass and some surfaces, but it works against you on cement-based grout. The acid slowly breaks down the grout, opening the door to stains, moisture, and mold.
If your grout is already chalky, pitted, or stained beyond what scrubbing fixes, Certified SteemPro can help. We use 100% non-toxic, green-certified, oxygen-infused cleaning with truck-mounted equipment and fast dry times, backed by over 20 years of experience and a 100% satisfaction guarantee.
Frequently Asked Questions
Does vinegar remove grout haze?
Vinegar can lift light, fresh grout haze from ceramic or porcelain tile because its acetic acid breaks down thin cement residue. It works best within the first day or two after grouting, before the haze fully cures. On natural stone like marble or travertine, skip vinegar entirely; the acid etches the surface. For stubborn or older haze, a purpose-made grout haze remover or a professional cleaning is the safer route.
What should you use instead of vinegar to clean grout?
For routine cleaning, warm water with a few drops of mild dish soap and a soft-bristle brush handles most soil. For mold or mildew, a diluted oxygen-based cleaner or a bleach solution (about 1 cup per gallon of water) works on white grout. For unsealed grout that needs a deeper clean, a pH-neutral tile and grout cleaner is the safest choice. Always test on a hidden spot first, and ventilate the room while you work.
Can you use vinegar on ceramic or porcelain tile?
Yes, diluted white vinegar is generally safe on glazed ceramic and porcelain tile because the glaze resists acid. The real risk is the grout between the tiles, especially if it is unsealed or cement-based. Vinegar can slowly erode the top layer of unsealed grout, leaving it chalky, pitted, and more prone to staining. If you use vinegar at all, dilute it, keep contact time short, and rinse thoroughly afterward.
How can you tell if grout has been damaged by vinegar?
Look for grout that has turned chalky, sandy, or lighter in color than surrounding areas. You may see small pits, crumbling edges, or a powdery residue that comes off on your finger. Staining also appears faster because the protective surface is gone. If the damage is mild, a grout sealer can slow further wear. If the grout is crumbling or deeply eroded, regrouting or professional restoration is usually the better fix.