 how-to
How to Remove Mold From Shower Grout
Table of Contents
- Why Mold Grows in Shower Grout and How to Identify It
- Tools and Supplies You'll Need
- Safety Precautions and Protective Gear
- Step-by-Step Cleaning Process for Shower Grout
- Grout Sealing After Cleaning
- Preventing Mold Growth in Shower Grout
- When to Call Professional Grout Cleaning Services
- Conclusion
- Frequently Asked Questions
Last Updated: October 2, 2026
Why Mold Grows in Shower Grout and How to Identify It
Understanding how to remove mold from shower grout starts with knowing why mold thrives in bathrooms because they're warm, wet, and poorly ventilated. Shower grout absorbs moisture and stays damp for hours after you shower. Mold spores land on the grout, find perfect conditions, and start growing. Within days, you see dark spots. Within weeks, entire grout lines turn black.
The problem gets worse if your bathroom lacks proper air circulation. A running exhaust fan during and after showers helps, but many homes don't have adequate ventilation. That trapped humidity creates an ideal breeding ground for mold and mildew.
Understanding why mold grows is the first step to stopping it. But before you start cleaning, you need to know what you're actually looking at.
Surface Mold vs. Deep-Set Staining
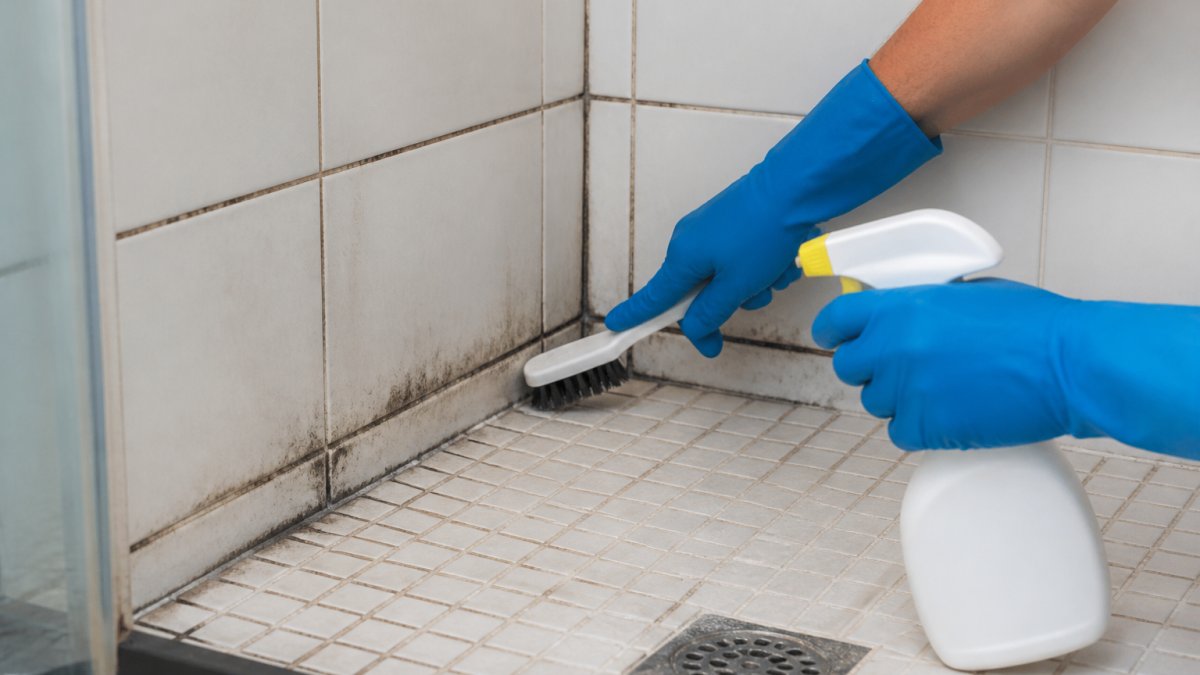
Surface mold sits on top of the grout. It's usually black, fuzzy, and comes off easily when you scrub. This is the mold you can remove with household cleaners and elbow grease.
Deep-set staining has penetrated into the grout itself. It looks darker, feels rough, and doesn't budge with basic scrubbing. This happens when mold has been growing for months or years. The spores have worked their way into the porous material.
The difference matters because surface mold responds to standard cleaning methods. Deep staining often requires professional grout sealing or replacement. If you scrub hard and the stain doesn't fade, you're likely dealing with deep-set damage.
You can test this yourself. Spray a small area with bleach solution and let it sit for 10 minutes. If the stain lightens significantly, it's surface mold. If it barely changes, the discoloration has set in deep.
Tools and Supplies You'll Need
You don't need expensive equipment to clean shower grout effectively. Most tools are items you already have at home or can pick up inexpensively.
Essential cleaning tools:
- Stiff-bristled brush or old toothbrush for detailed work
- Spray bottle for applying cleaning solutions
- Rubber gloves to protect your hands
- Small bucket for mixing solutions
- Sponge or cloth for rinsing
Cleaning solution options:
- Bleach (for white grout only)
- White vinegar (safer alternative)
- Baking soda paste
- Hydrogen peroxide
- Commercial grout cleaner
A stiff-bristled brush is your most important tool. Soft brushes won't scrub away mold effectively. The bristles need to be firm enough to dislodge spores and staining from the porous grout surface.
Best Grout Cleaning Tools
The best grout cleaning tools depend on your grout type and the severity of the mold. For most homeowners, a basic stiff-bristled brush paired with a natural cleaning solution works well.
An old toothbrush is perfect for tight spaces where a larger brush won't fit. For wider grout lines, a grout brush with a wider head covers more area faster. Some people prefer electric toothbrushes for the vibration action, which can help break up stubborn mold.
A spray bottle lets you apply cleaning solution evenly. Keep it filled with your chosen cleaner so you can reapply as needed during scrubbing.
For deeper cleaning, some professionals use rotary tools with small brush attachments. These aren't necessary for most home jobs, but they can speed up the work if you have extensive mold growth.
Safety Precautions and Protective Gear
Cleaning mold involves exposure to chemicals and mold spores. Protecting yourself is essential.
Always wear protective gloves. Rubber or nitrile gloves prevent skin contact with cleaning solutions and mold. Some people have allergic reactions to mold spores, so gloves add an extra barrier.
Ensure proper ventilation. Open windows and run the exhaust fan while cleaning. Mold spores become airborne when you scrub, and you don't want to breathe them in. Good air circulation moves contaminated air out of the bathroom.
Consider wearing a respirator if you're sensitive to mold or if the infestation is severe. A simple dust mask helps, but a proper N95 or P100 respirator provides better protection against spores.
Never mix bleach with ammonia. This creates toxic chlorine gas. If you use bleach, don't follow it with any ammonia-based cleaner. Many commercial bathroom cleaners contain ammonia, so read labels carefully.
Protect your eyes. Splashes can happen when you're scrubbing vigorously. Safety glasses are optional but recommended, especially if you're using bleach.
Work in short bursts. Spending hours in a poorly ventilated bathroom inhaling fumes and spores isn't safe. Clean for 20-30 minutes, then take a break in fresh air.
Step-by-Step Cleaning Process for Shower Grout
Removing mold from shower grout follows a simple sequence. The key is patience, let your cleaning solution do the work before you start scrubbing hard.
Step 1: Prepare the area. Turn on the exhaust fan and open windows. Put on gloves and any protective gear. Have your cleaning solution mixed and ready.
Step 2: Apply your cleaning solution. Spray or brush the solution directly onto the moldy grout lines. Make sure the grout is thoroughly wet. This is called the "dwell time", the solution needs time to break down the mold.
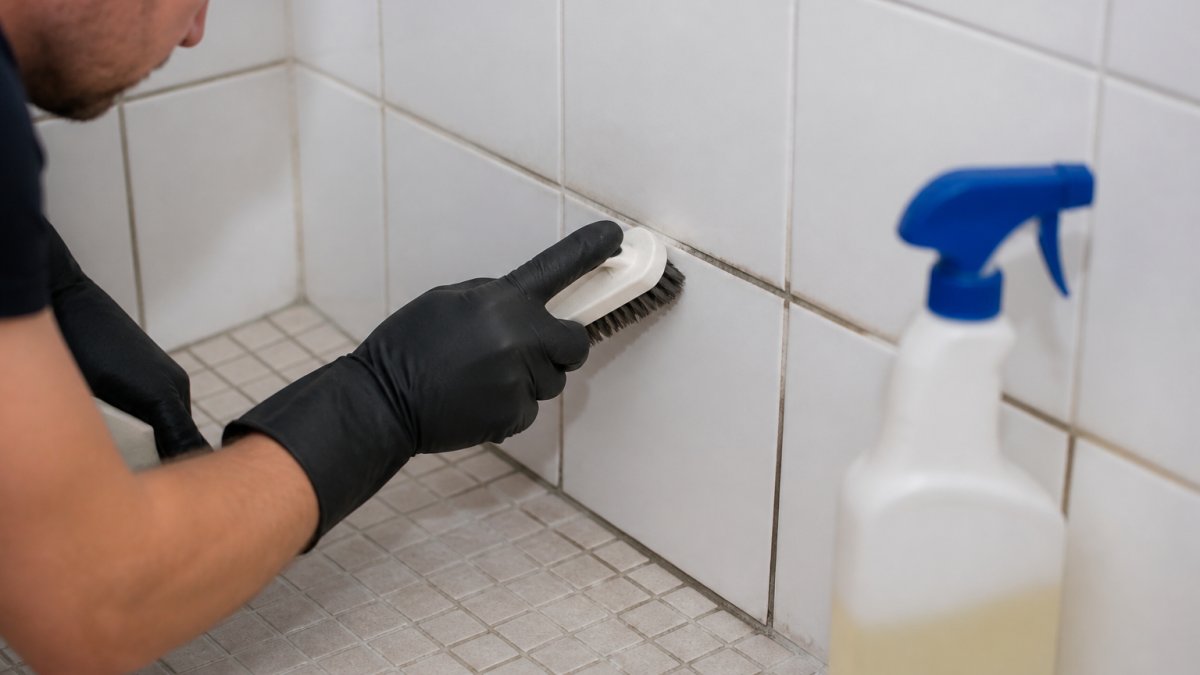
Step 3: Let it sit. Wait 10-15 minutes for the solution to penetrate the grout. During this time, the chemical reaction breaks down the mold's structure. Don't skip this step, it makes scrubbing much easier.
Step 4: Scrub thoroughly. Use your stiff-bristled brush to scrub the grout lines in circular motions. Apply pressure, but don't damage the grout itself. Work in small sections so you can focus on problem areas.
Step 5: Rinse thoroughly. Spray the area with clean water multiple times to remove all cleaning solution and mold debris. Use a cloth or sponge to wipe away residue. Incomplete rinsing leaves behind chemical residue.
Step 6: Dry the area. Use a clean towel to dry the grout. Moisture left behind can cause mold to return quickly. This step is often overlooked but it's crucial for preventing regrowth.
Repeat if necessary. For stubborn stains, repeat the process. Sometimes a second application removes what one cleaning missed.
Natural vs. Chemical Cleaning Solutions
Both approaches work, but they have different strengths.
Bleach is highly effective for white grout. It kills mold spores and removes staining quickly. The downside: bleach is harsh, has a strong smell, and can damage colored grout or surrounding surfaces. It's toxic if ingested or mixed with other cleaners.
Vinegar is a gentler alternative. It's acidic enough to kill many mold types and break down staining. Vinegar is non-toxic and safe for homes with children or pets. The smell is sharp but not dangerous. It works slower than bleach but causes less damage to grout.
Baking soda paste works well for light mold. Mix baking soda with water to create a thick paste, apply it to grout, and scrub. It's abrasive enough to help dislodge mold without being harsh. It's safe and affordable.
Hydrogen peroxide sits between bleach and vinegar in strength. It kills mold effectively and breaks down staining. It's safer than bleach but stronger than vinegar. A 3% solution is available at any drugstore.
Commercial grout cleaners are formulated specifically for this job. They often contain surfactants that help the solution penetrate grout more effectively. Choose one labeled as safe for your grout type and tile material.
For most homeowners, vinegar or hydrogen peroxide offers the best balance of effectiveness and safety.
Grout Sealing After Cleaning
Once you've removed the mold, sealing the grout prevents it from coming back quickly. This is a step many people skip, but it makes a real difference.
Preventing Mold Growth in Shower Grout
Prevention is easier than cleaning. Once you understand what mold needs to grow, you can eliminate those conditions.
When to Call Professional Grout Cleaning Services
Some situations require professional help. Knowing when to call saves time and prevents damage.
Call professionals if:
- The mold covers a large area (more than 10 square feet)
- Deep staining won't respond to your cleaning efforts
- You have health conditions that make exposure to mold risky
- The grout is crumbling or deteriorating
- You've tried cleaning multiple times without results
- You want grout sealing done professionally for better results
Conclusion
Learning how to remove mold from shower grout is manageable with the right approach and tools. The process is straightforward: identify the mold, choose a cleaning solution, apply it, scrub, and seal. The real challenge is preventing it from returning.
Frequently Asked Questions
Can vinegar kill mold on shower grout?
Vinegar can help remove surface mold and mildew from shower grout due to its mild acidity, but it works best on light discoloration rather than heavy black mold. White vinegar has antimicrobial properties that slow mold spore growth. For stubborn mold, hydrogen peroxide or a bleach solution provides faster results. Always test vinegar on a small area first, as it may discolor certain grout types. Combine vinegar with baking soda paste and a stiff-bristled brush for better scrubbing action.
What is the best tool for cleaning grout?
A stiff-bristled brush is the most effective tool for removing mold from shower grout. Electric grout brushes work well for larger areas and reduce hand fatigue. Grout cleaning pens or old toothbrushes handle tight spaces between tiles. For deep-set staining that resists scrubbing, a grout saw or carbide-tipped tool can remove damaged grout for replacement. Pair any tool with the right cleaning solution, chemical cleaners work faster on heavy mold, while natural solutions suit maintenance cleaning and eco-conscious households.
How do you remove black mold from shower grout permanently?
Permanent mold removal requires three steps: thorough cleaning with a fungicide or bleach solution, complete drying with proper ventilation, and preventative sealing. Black mold indicates deep spore penetration into porous grout. After scrubbing and rinsing thoroughly, apply a tile sealant or grout sealer to block moisture and prevent spore recurrence. Maintain humidity below 50% through exhaust fans and leave shower doors open to air dry. If mold returns within weeks despite sealing, the grout may be too damaged and require professional removal and replacement to eliminate the mold source completely.
What supplies do I need to safely remove mold from shower grout?
Essential supplies include a stiff-bristled brush, protective gloves, a respirator or N95 mask, safety glasses, and a cleaning solution (bleach, hydrogen peroxide, vinegar, or baking soda). Ensure good ventilation by opening windows and running exhaust fans. Have rags or towels for rinsing and drying. A spray bottle makes application easier. If using chemical cleaners, wear gloves to protect skin from irritation. For heavy mold, consider a commercial fungicide. Always read product labels and never mix bleach with ammonia or other chemicals, as this creates toxic fumes.