 how-to
Removing Pet Odors From Subfloors: A Step-by-Step Guide
Table of Contents
- How Pet Urine Damages Subfloors and Creates Lingering Odors
- Step 1: Identify the Source and Extent of Pet Urine Saturation
- Step 2: Remove Carpet and Padding to Access the Subfloor
- Step 3: Apply the Best Enzyme Cleaner for Subfloor Urine
- Step 4: Sand the Subfloor and Prepare the Surface
- Sealing Subfloor After Pet Urine Damage With Oil-Based Primers
- How to Tell If Subfloor Needs Replacement
- When to Call Professional Pet Odor Removal Services
- Frequently Asked Questions
Last Updated: September 19, 2026
How Pet Urine Damages Subfloors and Creates Lingering Odors
Pet urine doesn't just sit on the surface. It soaks deep into subfloor materials, creating a persistent odor problem that regular cleaning can't fix. Understanding how this damage happens is the first step to solving it.
When a pet has an accident, urine penetrates porous subfloor materials like wood, OSB (oriented strand board), and plywood. The urine contains uric acid and ammonia compounds that bond to these materials at a molecular level. Over time, bacteria colonize the saturated area, breaking down urine components and releasing volatile organic compounds that create that unmistakable smell.
The longer urine sits, the worse the problem becomes. What starts as a fresh accident can transform into cured urine within days. Cured urine is far more difficult to neutralize because the uric acid crystals have embedded themselves into the subfloor fibers. This is why many pet owners report that standard carpet cleaning provides only temporary relief, the odor returns because the source beneath the carpet was never addressed.
Moisture also creates a secondary problem: mold and bacterial growth. A damp subfloor becomes an ideal environment for mold colonies to develop, which compounds the odor issue and poses health risks (the CDC). This is why removing pet odors from subfloors requires more than surface treatment.
Step 1: Identify the Source and Extent of Pet Urine Saturation
Before you can fix the problem, you need to know exactly where the urine has penetrated and how extensive the damage is. This step determines your entire treatment strategy.
Start by identifying visible signs of damage. Look for discolored patches on the subfloor, dark stains, or areas where the wood appears warped or soft. Pet urine often creates a distinct yellowish or brownish discoloration on wood subfloors. If you can see staining, the saturation is likely significant.
Use your nose as a detection tool. Walk slowly across the exposed subfloor and note where the ammonia smell is strongest. The odor intensity often correlates with saturation depth. Mark these problem areas with tape or chalk so you don't lose track of them during the cleaning process.
For a more precise assessment, consider using a blacklight or ultraviolet light. Dried pet urine fluoresces under UV light, making saturated areas visible. Many professional restoration services use this method to map the full extent of contamination before treatment begins.
Test the subfloor material itself. Press your finger or a tool against the surface. If the material feels soft, spongy, or crumbles easily, the structural integrity has been compromised by moisture and urine penetration. This is a sign that subfloor replacement may be necessary rather than just cleaning.
Key indicators of saturation:
- Visible discoloration on subfloor surface
- Strong ammonia smell concentrated in specific areas
- Soft or spongy texture when pressed
- Warping or buckling of the subfloor material
- Visible mold growth or dark spots
Step 2: Remove Carpet and Padding to Access the Subfloor
You cannot treat what you cannot reach. Removing the carpet and padding is essential for accessing the subfloor and applying effective cleaning solutions.
Start by pulling up the carpet. Cut it into manageable sections using a utility knife, then roll each section and remove it from the room. Dispose of the carpet properly, many waste facilities have specific protocols for contaminated materials.
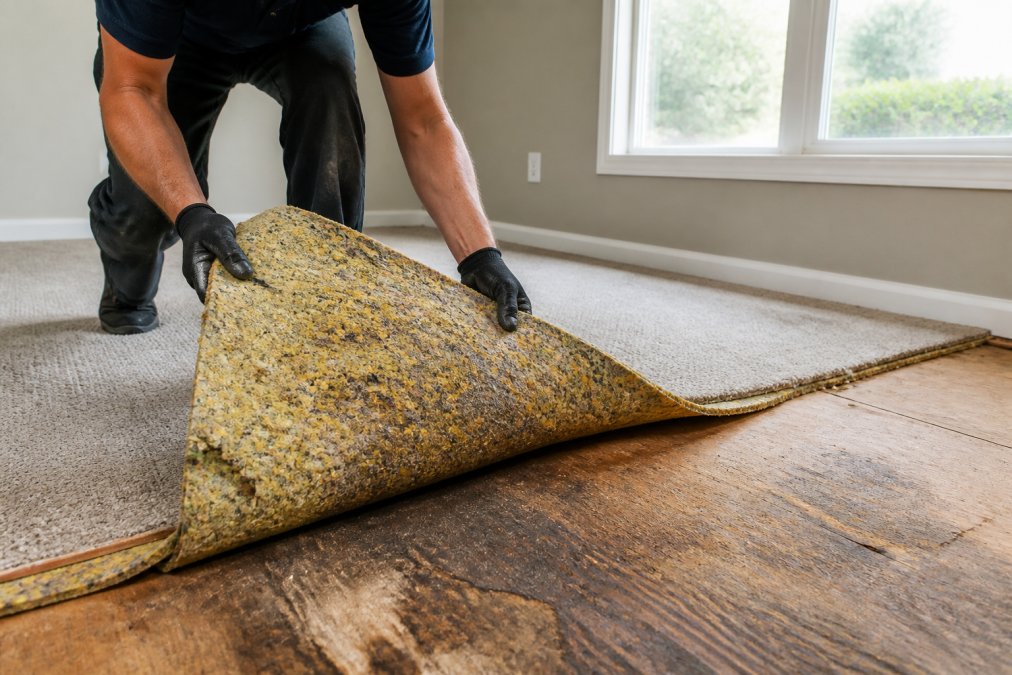
Next, remove the padding. The padding absorbs and holds urine, making it a major source of ongoing odor. Pull it up completely and dispose of it. Don't try to salvage the padding, once saturated with pet urine, it's impossible to fully decontaminate.
After removing carpet and padding, vacuum the subfloor thoroughly to remove loose debris, dust, and dried urine particles. This prepares the surface for the cleaning solutions you'll apply next.
Inspect the subfloor carefully once it's fully exposed. Look for signs of structural damage, soft spots, or areas where the material has begun to deteriorate. Document these areas because they may require replacement rather than cleaning alone.
Step 3: Apply the Best Enzyme Cleaner for Subfloor Urine
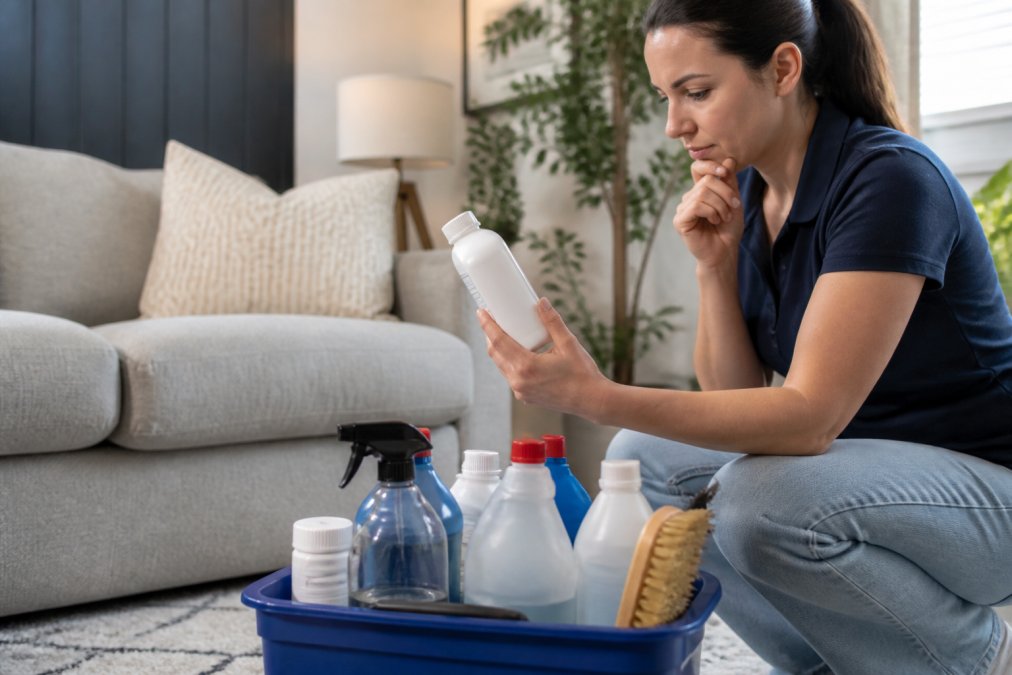
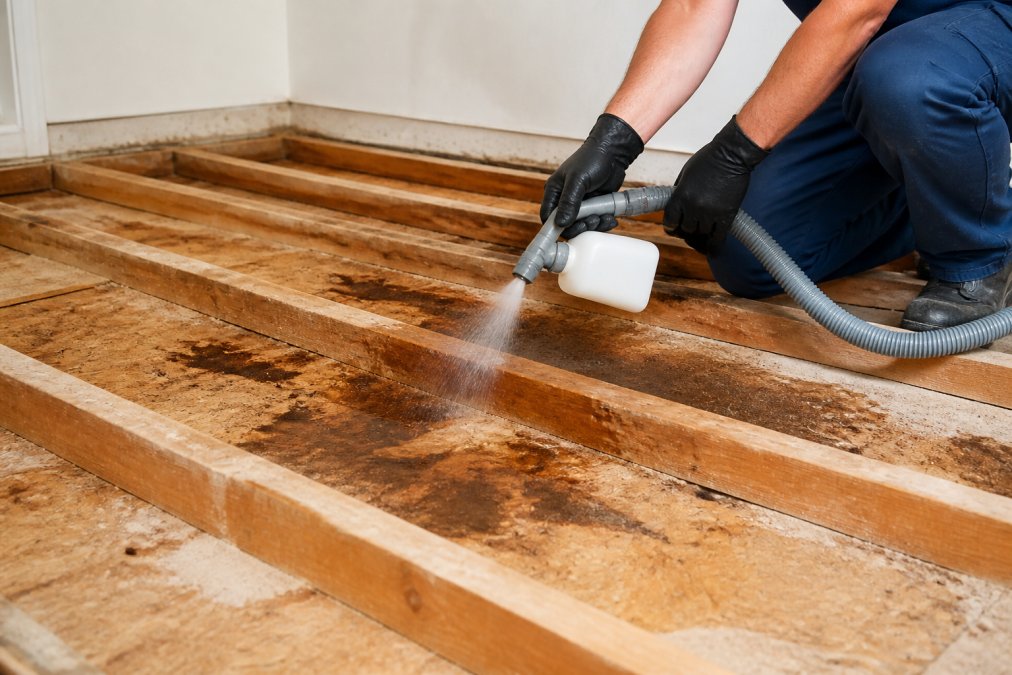
Enzyme cleaners are the most effective chemical solution for removing pet urine from subfloors. They work by breaking down the organic compounds in urine at a molecular level, neutralizing the source of the odor rather than just masking it.
Enzymatic cleaners contain protease and lipase enzymes that target the specific proteins and fatty acids in pet urine. When applied to saturated subfloor areas, these enzymes digest the urine compounds, rendering them odorless. This is fundamentally different from disinfectants or deodorizers, which only kill bacteria or cover smells.
Choose an enzymatic cleaner specifically formulated for pet urine. Apply it generously to all affected areas of the subfloor. Follow the product instructions for dwell time, most enzyme cleaners require 12-24 hours of contact time to work effectively. Do not rush this step.
For heavily saturated areas, consider applying the enzyme cleaner in multiple passes. Let the first application dry completely, then apply a second coat to ensure deep penetration. The longer the enzyme cleaner stays in contact with the urine-saturated material, the more thoroughly it breaks down the odor-causing compounds.
Ventilation is critical during this phase. Open windows and doors to allow air circulation. Use fans to move air across the treated subfloor. This helps the cleaning solution penetrate deeper and speeds evaporation.
After the dwell time has passed, allow the subfloor to dry completely. This can take 24-48 hours depending on humidity and air circulation. Do not proceed to the next step until the subfloor is fully dry.
Step 4: Sand the Subfloor and Prepare the Surface
Sanding removes the outer layer of the subfloor material, eliminating surface contamination and preparing the material for sealing. This step is crucial for removing pet odors from subfloors that have experienced significant saturation.
Begin with medium-grit sandpaper (80-120 grit).
Sanding process summary:
- Medium-grit pass removes contaminated surface layer
- Fine-grit pass smooths the surface
- Thorough vacuuming removes all dust
- Damp cloth wipe ensures clean surface
- Complete drying before sealing
Sealing Subfloor After Pet Urine Damage With Oil-Based Primers
Sealing is the final barrier against residual odors. An oil-based primer creates an impermeable moisture barrier that prevents any remaining urine compounds from off-gassing into your home.
How to Tell If Subfloor Needs Replacement
Not every urine-damaged subfloor can be saved. Sometimes the structural damage is too extensive, and replacement is the only effective solution.
Signs that your subfloor needs replacement include:
- Soft or spongy texture when you press on the material with your hand or a tool
- Visible rot or decay in the wood subfloor material
- Significant warping or buckling that affects the structural integrity
- Mold growth that extends across large areas of the subfloor
- Subfloor material that crumbles or breaks apart easily
- Persistent odor even after enzyme cleaning and sealing attempts
| Damage Level | Cleaning Viability | Sealing Effectiveness | Replacement Needed |
|---|---|---|---|
| Light (fresh stains) | Highly effective | Excellent | No |
| Moderate (weeks-old saturation) | Effective with enzyme treatment | Good | No |
| Heavy (months-old saturation) | Limited effectiveness | Fair | Possibly |
| Severe (structural damage visible) | Ineffective | Poor | Yes |
When to Call Professional Pet Odor Removal Services
Some situations are beyond DIY capability. Knowing when to call professionals saves time, money, and frustration.
Call a professional if:
- The urine saturation covers more than 20% of your subfloor area
- You've attempted DIY cleaning and odors persist
- The subfloor shows signs of structural damage or mold growth
- You're uncomfortable working with power tools or chemical treatments
- You need the job completed quickly and thoroughly
Frequently Asked Questions
How do you know if pet urine has reached the subfloor?
Pet urine reaches the subfloor when accidents soak through carpet and padding repeatedly over time. Signs include persistent ammonia smells even after surface cleaning, dark stains visible when you pull back carpet, soft or spongy spots in the subfloor, and odors that return shortly after cleaning. Urine penetrates porous materials like plywood and OSB quickly, especially in high-traffic accident areas. If the smell returns within days of cleaning, urine saturation has likely reached the subfloor.
What is the best enzyme cleaner for subfloor urine?
Enzymatic cleaners work by breaking down uric acid crystals in dried urine, neutralizing the source of ammonia smell rather than just masking it. Look for cleaners specifically formulated for pet urine with protease and amylase enzymes. These products penetrate porous subfloor materials effectively. Apply generously, allow proper dwell time (typically 12-24 hours), and ensure the subfloor stays wet long enough for the enzymes to work. Professional-grade enzymatic solutions often outperform consumer products for deep subfloor penetration.
Can you use oil-based primer to seal pet urine odors on subfloors?
Yes, oil-based primers create a moisture barrier that encapsulates residual odors and prevents them from rising through new flooring. Kilz and similar stain-blocking primers are commonly used after enzymatic cleaning and sanding. Apply primer after the subfloor is completely dry (typically 48-72 hours after enzymatic treatment). The primer seals volatile organic compounds and ammonia, stopping odor encapsulation. Ensure proper ventilation during application due to VOC emissions.
Is it necessary to replace subflooring if it smells like pet urine?
Replacement is only necessary if the subfloor has structural damage, soft spots, or mold growth from prolonged moisture exposure. Most urine odors can be eliminated through enzymatic cleaning, sanding, and sealing if caught before the material deteriorates. However, if the subfloor shows signs of rot, bacterial growth, or has lost structural integrity, replacement is the only reliable solution. A professional inspection can determine whether restoration or replacement is appropriate for your specific situation.