 how-to
Does Grout Sealing Prevent Mold? A 2026 Guide
Table of Contents
- Does Grout Sealing Prevent Mold?
- The Limits of Grout Sealing: Mold Prevention vs. Mold Removal
- How to Clean Mold From Grout Before Sealing
- How to Prevent Mold in Grout Long-Term
- How to Seal Shower Grout: A Step-by-Step Walkthrough
- How Often to Seal Grout (and When to Reseal)
- Sealed vs. Unsealed Grout: What Actually Changes
- Frequently Asked Questions
Last Updated: October 13, 2026
Does Grout Sealing Prevent Mold?
Grout sealing helps prevent mold, but it does not make mold impossible. A quality sealer soaks into the grout and blocks much of the water that mold needs to grow. This guide from Certified SteemPro explains what sealing can and cannot do, so you can set realistic expectations before you start.
Here is the short answer: grout sealing is mold prevention, not mold removal. It slows water absorption and stains. It will not kill mold that already lives in the grout. If you seal over active mold, you trap the problem under a film. That is the mistake most guides skip over.
We have cleaned tile and grout across Riverside County for more than 20 years. In our experience, homeowners who understand this difference get far better results than those who expect a sealer to do all the work.
Below, we cover what sealer protects against, how to clean moldy grout first, and a full walkthrough for sealing shower grout.
What Grout Sealer Protects Against
A grout sealer is a liquid that soaks into the grout and cures to block water, oils, and dirt from settling in. Cement-based grout is porous. It acts like a sponge, pulling water and grime into tiny channels.
A good sealer protects against:
- Water absorption and moisture ingress
- Oil stains from kitchen spills
- Dirt and grime buildup
- Staining and discoloration
- Efflorescence, the white powder that rises to the surface
- Early mold and mildew growth
Penetrating sealers soak in and leave no film. Surface sealers sit on top and form a coating. Penetrating sealers are the better pick for showers because they let the grout breathe.
How Sealing Reduces Moisture Penetration
Sealing reduces moisture penetration by filling the pores in the grout so water beads on the surface instead of soaking in. Less trapped water means less food for mold and mildew.
Think of unsealed grout as a dry sponge. Water soaks straight in and stays there. Sealed grout acts more like a coated surface. Water sits on top and drains or evaporates.
This matters most in wet rooms. A shower can stay damp for hours after use. Every extra hour of moisture is another hour mold can grow. Sealing cuts the amount of water that lingers inside the grout.
It also makes cleaning easier. Dirt and soap scum cannot grip a sealed surface the way they grip raw grout. That means fewer deep scrubs and less wear on the grout over time.
The Limits of Grout Sealing: Mold Prevention vs. Mold Removal
Grout sealing prevents future mold growth. It does not remove mold that is already there. These are two separate jobs, and mixing them up causes most sealer failures.
Mold needs three things to grow: moisture, organic food, and a surface. Grout offers the surface. Soap scum, body oils, and dust provide the food. Water ties it together. A sealer blocks some water, but it cannot remove food or fix a moisture source.
Here is the honest split:
| Goal | What Works | What Does Not Work |
|---|---|---|
| Prevent new mold | Sealing, ventilation, drying | Sealing over wet grout |
| Remove active mold | Cleaning, then sealing | Sealer alone |
| Fix recurring mold | Finding the moisture source | Reapplying sealer repeatedly |
| Stop stains | Penetrating sealer | Surface film on damp grout |
A sealer is a barrier, not a cleaner. If mold is already growing, you must clean it out first. Then seal the clean, dry grout. Skip that order and you seal mold in place.
How to Clean Mold From Grout Before Sealing
Cleaning mold from grout before sealing is not optional. Any mold left behind will survive under the sealer. The job is to strip the grout back to a clean, dry surface so the sealer can bond.
Start with the right tools and a light touch. Harsh scrubbing wears down grout and opens new pores for water.
- Put on gloves and open a window or run a fan
- Mix a mild cleaner with warm water
- Scrub grout lines with a soft brush, not a wire brush
- For stubborn spots, use a grout-safe mold cleaner
- Rinse well and blot dry with a clean towel
- Let the grout air-dry fully before sealing
Avoid bleach-heavy products on colored grout. They can strip the color and leave a chalky surface. For heavy black grout in kitchens and showers, professional cleaning often restores what hand scrubbing cannot.
This is where many DIY jobs stall. Mold that has soaked deep into the grout will not come out with a brush. Certified SteemPro uses oxygen-infused, truck-mounted cleaning to pull mold and grime out of the grout before any sealer goes on.
Once the grout is clean, test it before you seal. That step comes later in this guide.
How to Prevent Mold in Grout Long-Term
Preventing mold in grout long-term comes down to managing moisture, not just sealing. Sealer is one tool. Airflow, drying habits, and fixing water sources do the rest.
Mold returns when moisture returns. So the goal is to remove water fast and keep the grout dry between uses.
- Run the exhaust fan during and after every shower
- Squeegee shower walls and glass when you finish
- Leave the shower door or curtain open to air out
- Fix dripping faucets, loose tiles, and cracked caulk
- Wipe up kitchen spills before they soak in
- Clean grout on a regular schedule, not just when it looks bad
A simple weekly wipe-down beats a deep scrub once a year. Consistent care keeps soap scum from building up and feeding mold.
Ventilation, Drying, and Moisture Sources Beyond Grout
Ventilation and drying matter because grout is rarely the real source of the moisture. The grout is just where the water shows up.
Look past the grout lines. Common hidden moisture sources include:
- A clogged or weak exhaust fan
- A slow leak behind the shower wall
- Cracked caulk along the tub or shower base
- A shower pan that does not drain fully
- High humidity from laundry or cooking nearby
If mold keeps coming back in the same spot after cleaning and sealing, the moisture is coming from somewhere else. Reapplying sealer will not fix a leak. Find the source first, then seal the grout.
How to Seal Shower Grout: A Step-by-Step Walkthrough
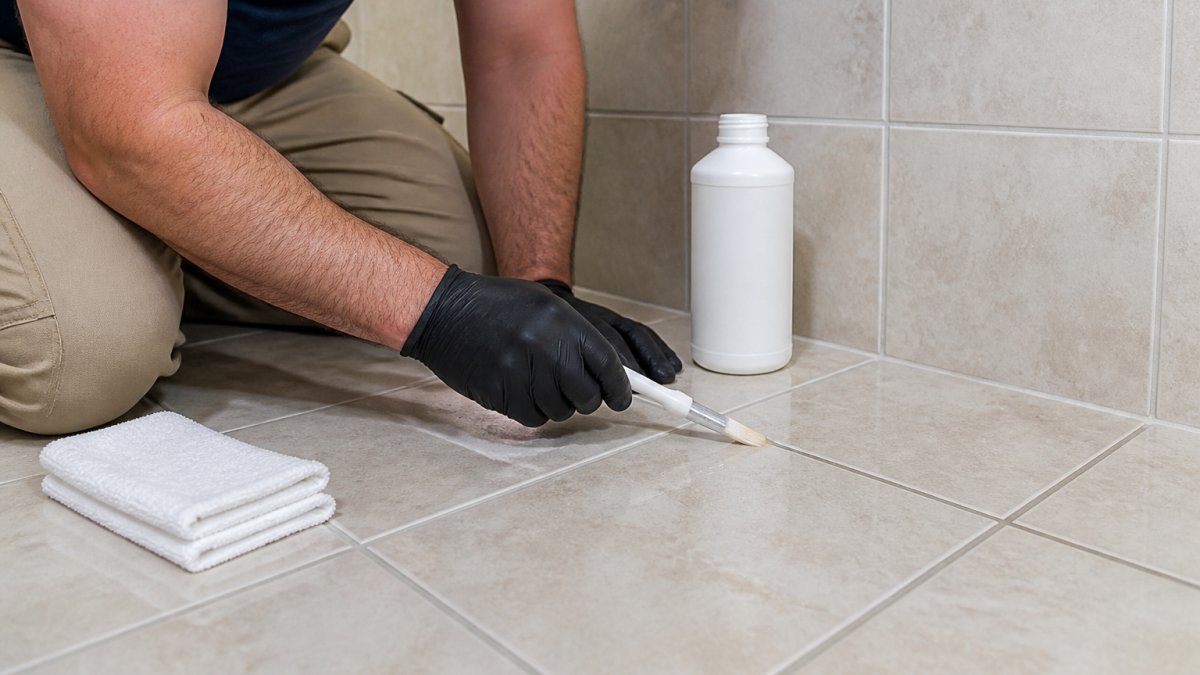
Sealing shower grout takes about an hour of hands-on work plus curing time. The steps below work for most ceramic and porcelain tile showers. Always check the sealer label for the cure time on your product.
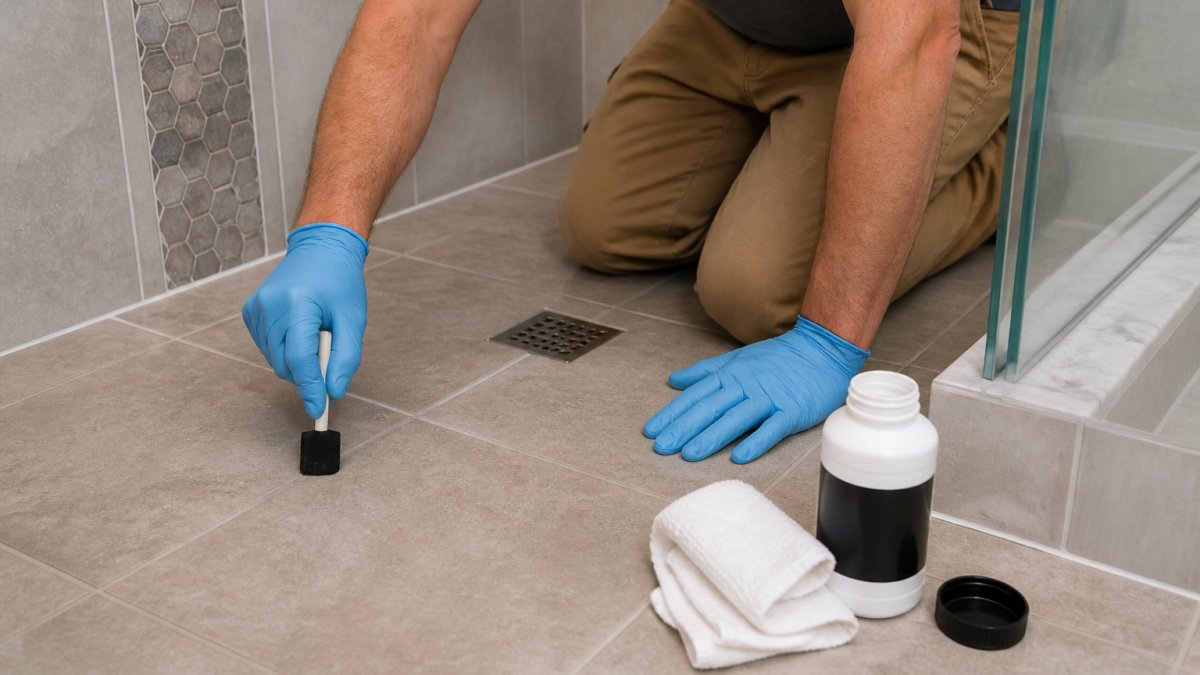
Total Time: About 1 hour of work, plus 24 to 72 hours of cure time Difficulty: Beginner to intermediate
What You'll Need:
- Penetrating grout sealer
- Foam brush or small applicator
- Clean rags or paper towels
- Nitrile gloves
- A fan or open window
Step 1: Clean and dry the grout. [Time: 20 minutes] Scrub the grout clean, rinse, and let it dry fully. Grout must be bone-dry before sealing. Damp grout blocks the sealer from soaking in.
Step 2: Test a small area. [Time: 5 minutes] Apply sealer to one grout line and watch how it absorbs. Fast absorption means the grout is ready.
Step 3: Apply the sealer. [Time: 20 minutes] Work in small sections. Brush sealer along the grout lines and let it soak in for the time on the label. Wipe off any excess before it dries on the tile.
Step 4: Let it cure. [Time: 24 to 72 hours] Keep the shower dry for the full cure time. No showers, no splashing.
Expected Result: Water beads on the grout instead of soaking in, and the grout looks darker and more even.
How to Test Whether Grout Needs Sealing
Test whether grout needs sealing with a simple water drop. Put a few drops of water on a grout line and watch for one to two minutes.
- If the water beads up, the sealer is still working
- If the water soaks in and darkens the grout, it is time to reseal
This one test tells you more than any calendar. Grout in a busy shower wears faster than grout in a guest bath, so the water test beats a fixed schedule every time.
How Often to Seal Grout (and When to Reseal)
Most grout needs resealing every 6 to 12 months, but the water test is the real guide. High-traffic showers may need it sooner. A lightly used bathroom can go longer.
Reseal when you notice:
- Water soaking into the grout instead of beading
- The grout looking dull, dark, or patchy
- Stains that used to wipe away now sticking
- New mold spots returning in the same area
Do not reseal on a fixed date just because a year passed. Test first. Sealing grout that is still protected wastes product and can leave a cloudy film.
If mold keeps returning even with regular sealing, the grout may be too far gone for a sealer to help. Deep-set mold and worn grout often need professional cleaning and, in some cases, regrouting.
Sealed vs. Unsealed Grout: What Actually Changes
Sealed grout resists water, stains, and mold better than unsealed grout. But the gap is smaller than most product labels suggest. Sealing buys time and makes cleaning easier. It does not make grout waterproof.
| Factor | Sealed Grout | Unsealed Grout |
|---|---|---|
| Water absorption | Slow | Fast |
| Stain resistance | Higher | Low |
| Cleaning effort | Easier | Harder |
| Mold risk | Lower | Higher |
| Needs reapplication | Yes, every 6-12 months | Not applicable |
| Stops leaks | No | No |
The honest take: sealing is worth it for any wet area. But it works best as part of a full routine that includes cleaning, ventilation, and fixing moisture problems. A sealer on dirty, damp grout does almost nothing.
For grout that is already black, stained, or holding odor, sealing alone will not bring it back. That grout needs deep cleaning first. Certified SteemPro restores tile and grout with non-toxic, green-certified solutions and fast dry times, so you can seal a clean surface instead of covering up a problem.
Mold in grout rarely goes away on its own, and sealing over it only hides the issue until it returns. If your tile and grout need a real reset before sealing, Certified SteemPro can help. We bring over 20 years of experience, 100% non-toxic green-certified solutions, and truck-mounted, oxygen-infused cleaning with fast dry times to homes and businesses across Riverside and the surrounding areas.
Frequently Asked Questions
Does grout sealer make grout waterproof?
No. A penetrating sealer soaks into porous grout and slows water absorption, but it does not create a waterproof barrier. Grout lines still take on some moisture, especially in a shower that stays wet for hours. Sealing is one layer of defense, not a replacement for ventilation, drying, and routine cleaning. If you need a true moisture block, that comes from the tile and the waterproofing membrane behind it, not the sealer itself.
Can you seal grout that already has mold on it?
You should not. Sealer traps whatever is on the grout surface, so sealing over mold locks in the problem and the stain. Clean the grout first, let it dry completely (24 to 48 hours in a shower), then apply sealer. For heavy black staining in a kitchen or bathroom, a professional tile and grout cleaning can lift what household scrubbing leaves behind before any sealer goes down.
How often should shower grout be sealed?
Most shower grout needs resealing every 6 to 12 months, depending on traffic, ventilation, and the sealer used. Test with a few drops of water: if the water soaks in within a few minutes instead of beading, it is time to reseal. High-use showers with poor airflow often need it closer to the 6-month mark.
What should you not use to clean grout?
Skip bleach-heavy scrubs, undiluted vinegar, and abrasive powders on a regular basis. They can erode grout and strip sealer, which leaves the grout more porous and easier for mold to return. A pH-neutral cleaner and a soft brush handle routine cleaning without shortening the life of your sealer.